

A simple guide to our paint and stain finish options.
Legacy Cabinet Finish Guide
At Körner, the cabinet finish is the first impression, both to the eye and to the touch.
We craft every surface with advanced finishing techniques and protective topcoats designed to preserve beauty that endures. Each piece reflects our dedication to quality that will last for generations.
Our protective coatings are engineered for lasting resilience, guarding against scratches, stains, UV exposure, and the demands of daily living. With catalyzed conversion varnish, every cabinet in our Legacy cabinet finishes is sealed in strength and elegance, ensuring its appearance remains as timeless as the day it was made.
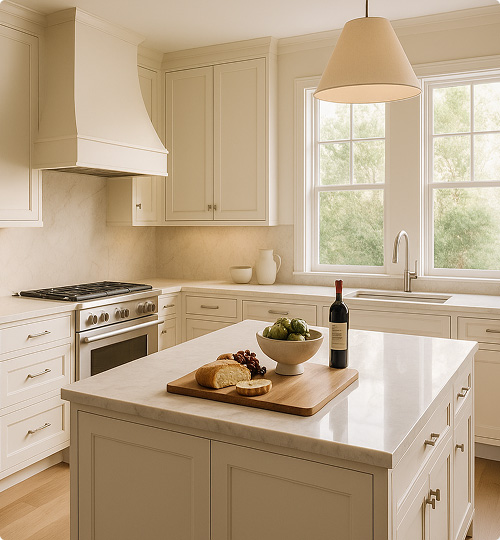
Finish Process Overview
Explore how our paint finish and stain finish follow their own dedicated process to create durable, refined and beautiful cabinet surfaces.
Step 1 – RAW WOOD SANDING
Creates a smooth, clean foundation for the finish.
Step 2 – SEALER COAT
Prepares and stabilizes the wood surface.
Step 3 – LIGHT SANDING
Refines the surface and smooths minor imperfections.
Step 4 – PRIMER APPLICATION
Builds coverage and prepares the surface for color.
Step 5 – INTERMEDIATE SANDING
Smooths and refines the primed surface.
Step 6 – SECOND PRIMER APPLICATION
Creates a more even and consistent foundation.
Step 7 - FINE SANDING
Prepares the surface for the final finish.
STEP 8 – COLOR TOPCOAT
Adds the final color, durability, and protection.
Step 1 – RAW WOOD SANDING
Prepares the wood for an even stain application.
Step 2 – STAIN APPLICATION
Smooths the surface for an even application.
Step 3 – LIGHT SANDING
Refines the surface before protective layers are added.
Step 4 – CLEAR SEALER
Protects the stained surface and begins building depth.
Step 5 – INTERMEDIATE SANDING
Smooths the sealed surface for an even foundation.
Step 6 – SECOND CLEAR SEALER
Adds consistency and builds the finish further.
Step 7 – FINE SANDING
Prepares the surface for final color refinement.
Step 8 – TONING & SHADING
Balances and refines the final color.
Step 9 – PROTECTIVE TOPCOAT
Seals the finish for lasting durability and protection.
For a closer look at the full craftsmanship process, download the detailed PDFs below.